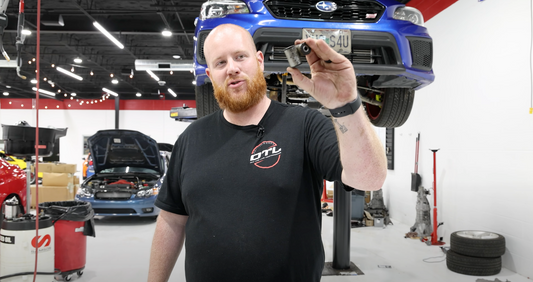
Upgrading your car’s suspension can significantly enhance its performance and handling, especially if you’re aiming for a more track-oriented setup. Today, we’re installing a brand-new set of AST coilovers on a 2024 Toyota GR Corolla. Join us as we walk through the process, share some tips, and show you how to get the perfect fitment for your ride.
Installing our AST GR Corolla 5100 Series Coilovers
Unboxing and Preparation
Time to unveil the goodies! We start by unboxing the AST coilovers. The packaging is impressive and secure, ensuring that the components arrive in perfect condition.
Here's what you can expect in the box:
- Coilovers: The heart of our upgrade.
- Hardware: Includes various bolts and spacers.
- User Manual: Nicely laminated and easy to follow.
- The meticulous packaging of AST coilovers.
First impressions:
The coilovers are robust, featuring a hefty spring and adjustable preload. The build quality is impressive, promising a noticeable improvement in ride and handling.
Lifting the Car
Before we dive into the installation, we need to get the car up in the air. Using a hydraulic jack, we carefully lift the vehicle and secure it with jack stands for safety. Always double-check the stability before getting under the car.
Removing the Rear Suspension
We begin with the rear suspension. Here’s the step-by-step breakdown: Inspect the Rear Suspension: Locate the two bolts at the top (17mm) and the bottom bolt holding the coil and shock in place. Support the Lower Control Arm: Place a pole jack to relieve tension on the spring.
Remove the Bolts
Loosen the bolts and carefully lower the control arm to remove the old spring and shock. Dispose of the Old Parts: As we're replacing the entire assembly, the old components can be set aside. Support the control arm to safely remove the old spring.
Installing the New Coilovers
Now, it's time to install the shiny new AST coilovers: Position the Coilover: Slide the new coilover into place and secure it with the top bolts. Align the Bottom Mount: Adjust the alignment to fit the bottom bolt through the mounting point. Tighten Everything: Ensure all bolts are tightened to the manufacturer’s specifications.
Pro Tip: Apply a bit of grease between moving parts to reduce noise and wear.
Handling the Front Suspension
Moving to the front, we need to disassemble some parts to access the top hat bolts: Remove the Hood Cowl: Pop the hood and remove the plastic cowl, which involves unclipping and unbolting the windshield wipers and the plastic cover.
Access the Top Hat Bolts: With the cowl removed, you can see the top hat bolts. These are what secure the strut assembly to the car’s body. Remove the Wheel and Knuckle Bolts: Lift the car slightly higher, remove the front wheels, and then unbolt the knuckle and sway bar end links.
Remove the hood cowl to access the top hat bolts.
Final Installation Steps
Install the Front Coilovers: Slide the new coilovers into the strut tower and secure them with the top hat bolts. Reassemble the knuckle and end links.
Adjust Ride Height
Set the preload and adjust the ride height to your preference. This is done by compressing the spring slightly more or less. Reattach the Wheels: Secure the wheels back on and lower the car to the ground.
Once the coilovers are installed, it’s crucial to check the ride height and make any final adjustments. You’re looking for a balance that offers improved handling without compromising too much on daily drivability.
Conclusion
Upgrading to AST coilovers on your Toyota GR Corolla not only enhances performance but also offers a customizable ride height and improved handling characteristics. The installation process requires careful attention to detail and some mechanical know-how, but the end result is well worth the effort.
Ready to hit the track or cruise in style? With your new coilovers, your Corolla is now set to deliver a more engaging and responsive driving experience.
The TOYOTA GR Corolla with new AST 5100 series coilovers, ready to conquer the roads. Feel free to leave any questions or comments below, and happy wrenching!
Author's Note: This guide is intended for enthusiasts with some mechanical experience. Always consult your vehicle’s manual and follow safety protocols when performing installations.


